Setting up Simmer
This guide will walk you through the process of setting up Simmer. If you have any questions, please contact help@simmerpos.com
1. Create the required Simmer collections
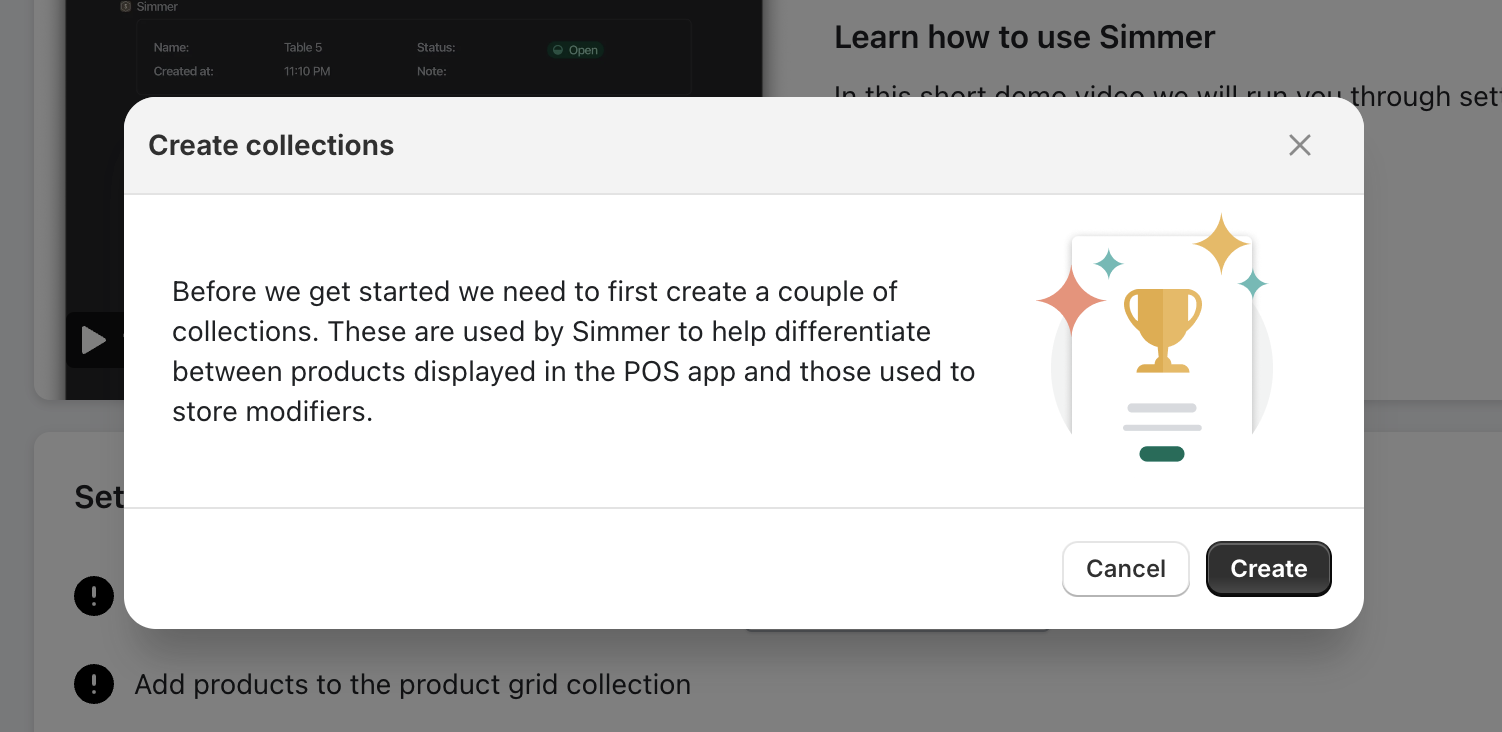
Start by creating the product grid and modifier collections in your Shopify admin. You will be prompted to create two collections when you first load Simmer within your Shopify admin:
2. Add products to the Simmer tile
First create your products within the Shopify Admin then add products to the Simmer product grid collection. These should be products on your food and drinks menu that you want to show in the Simmer POS tile:
From the Simmer dashboard go to Manage products and folders:

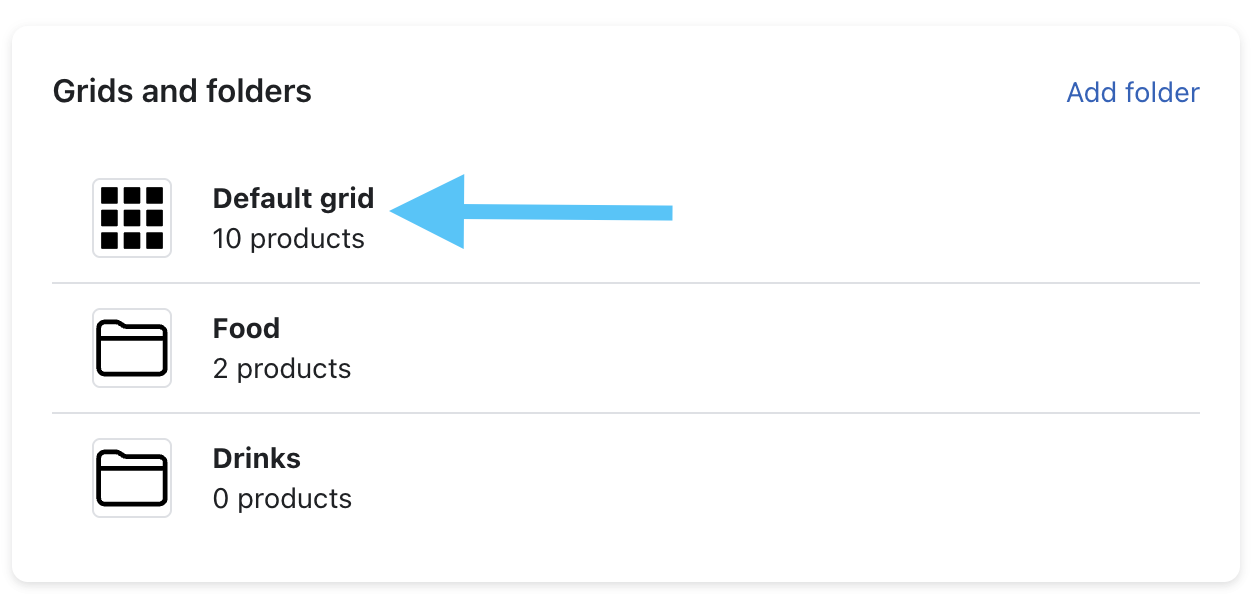
Then select the default grid if you have a single location or you want to share grids across all locations:

Here you can create folders or assign products to the grid by clicking Default grid:
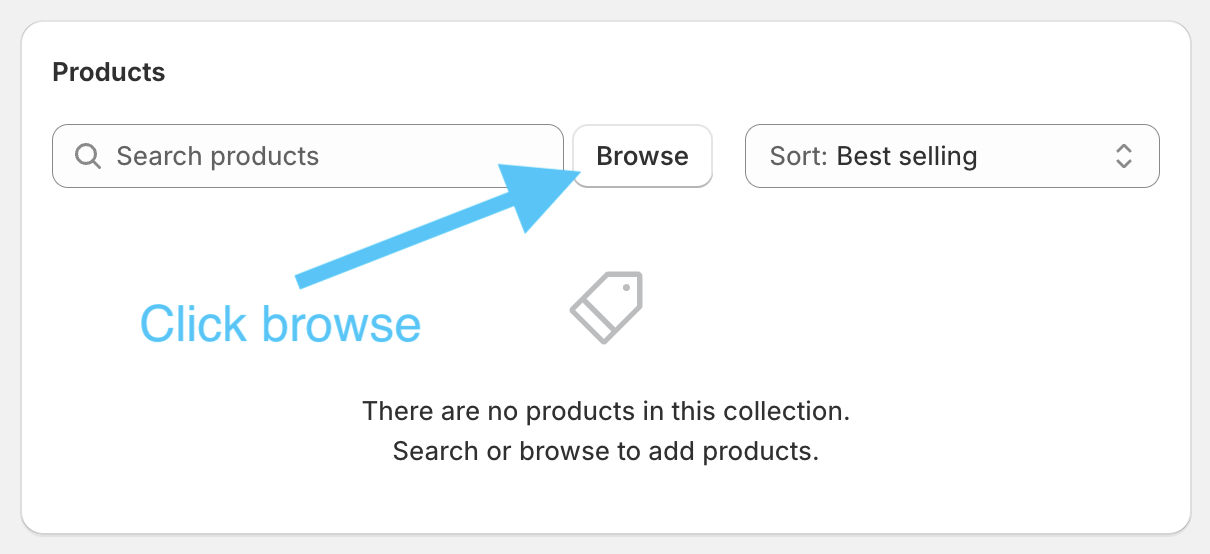
From the Shopify collection page, click Browse:
Then select all of your grid products and click Add:
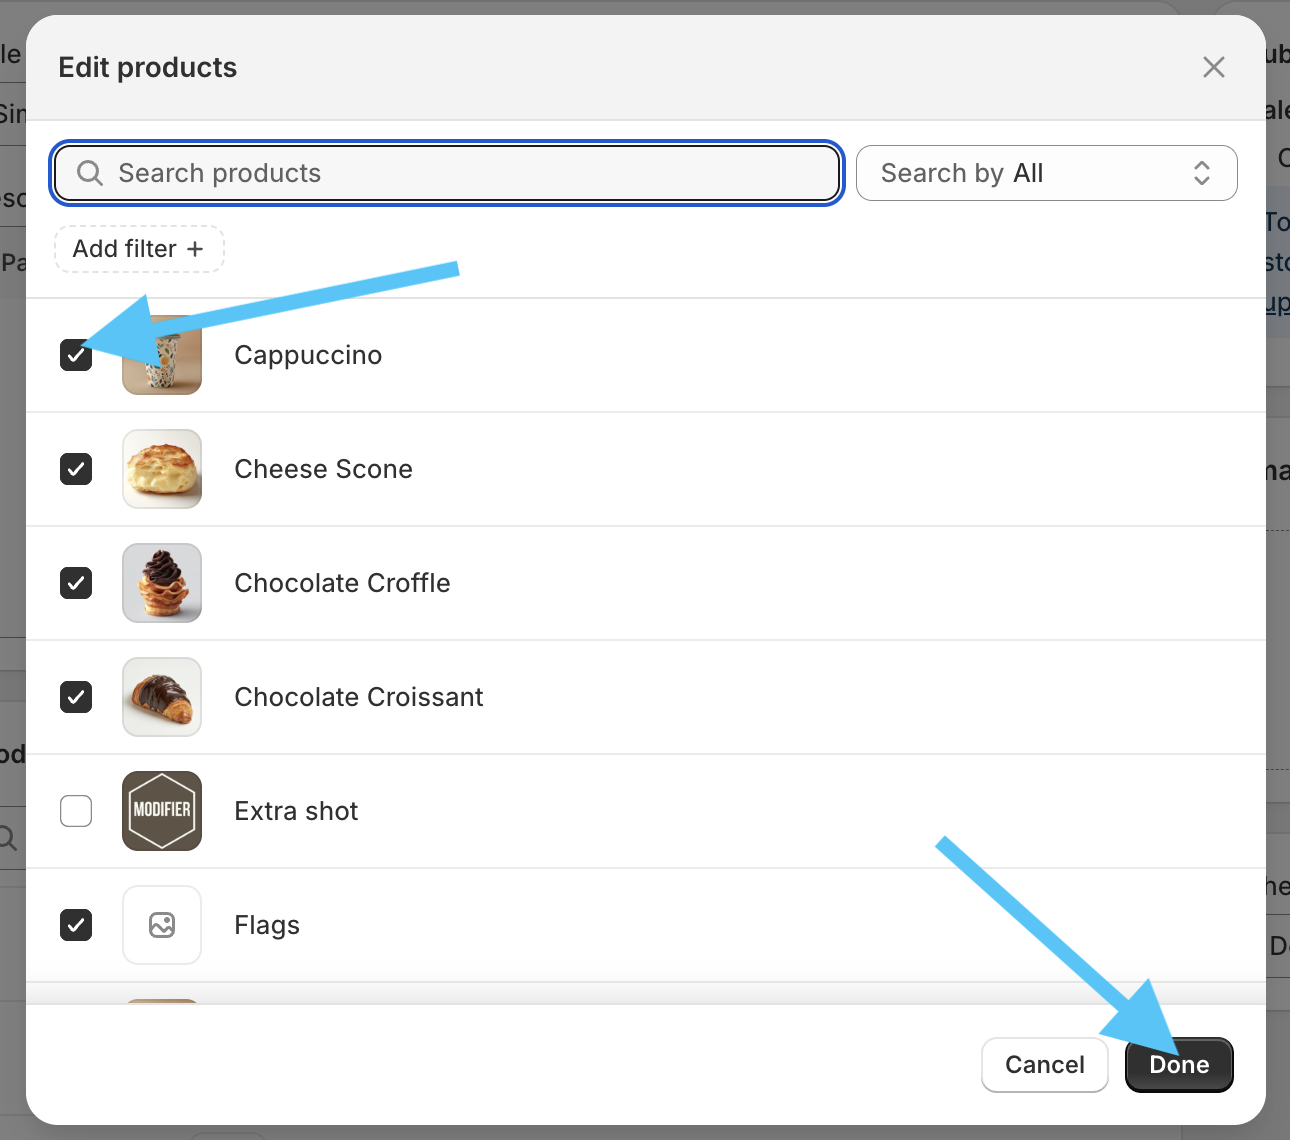
3. Add modifiers (optional)
Modifiers are options that can be added to products such as flavourings and toppings. To add modifiers, create a new product within Shopify and set the collection to ‘Simmer: Modifiers’.
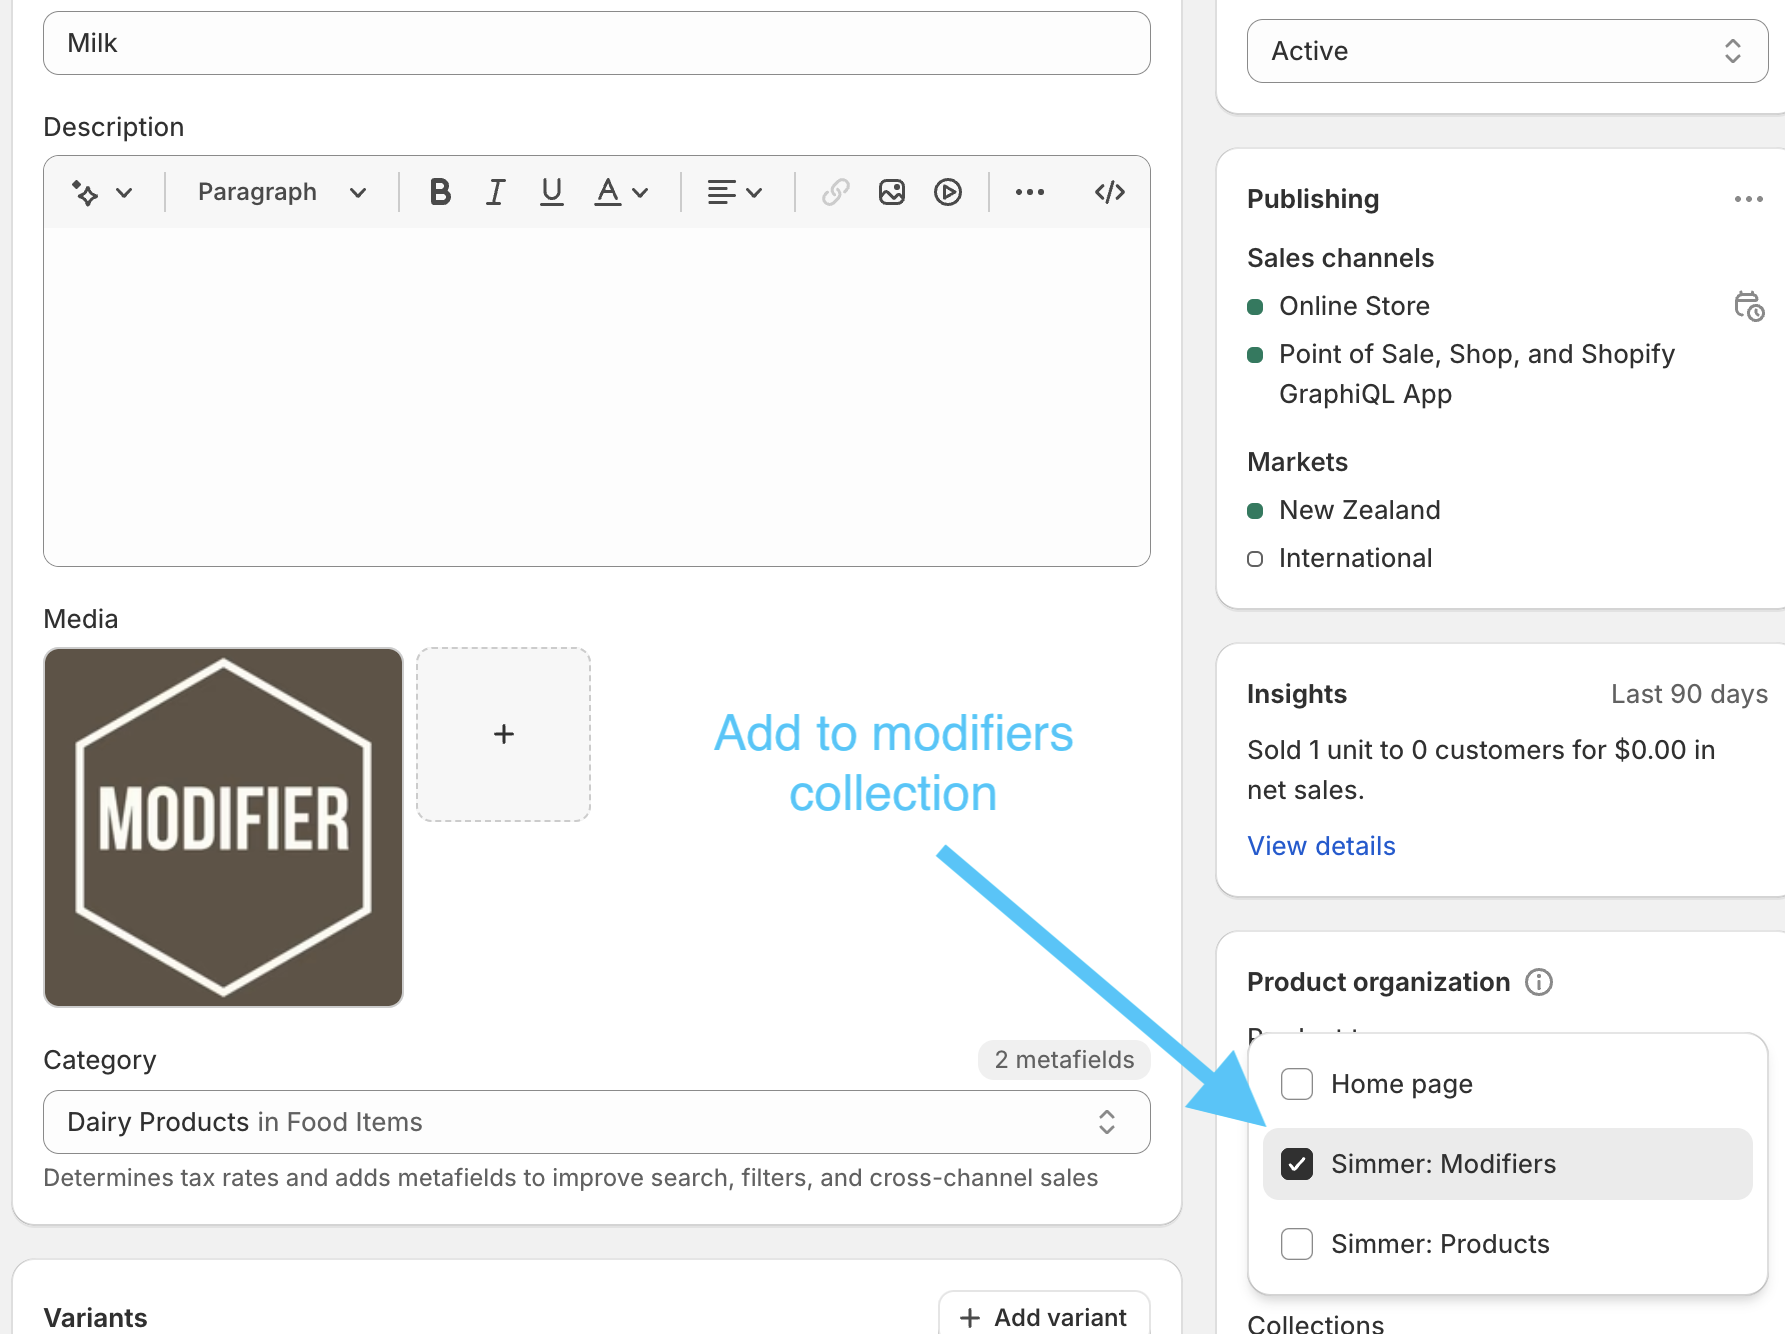
You’ll now be able to assign the modifier to a product from the Shopify Admin by editing the product and selecting the modifier from within the Modifier Block. Modifiers will be sorted based on the order you add them:
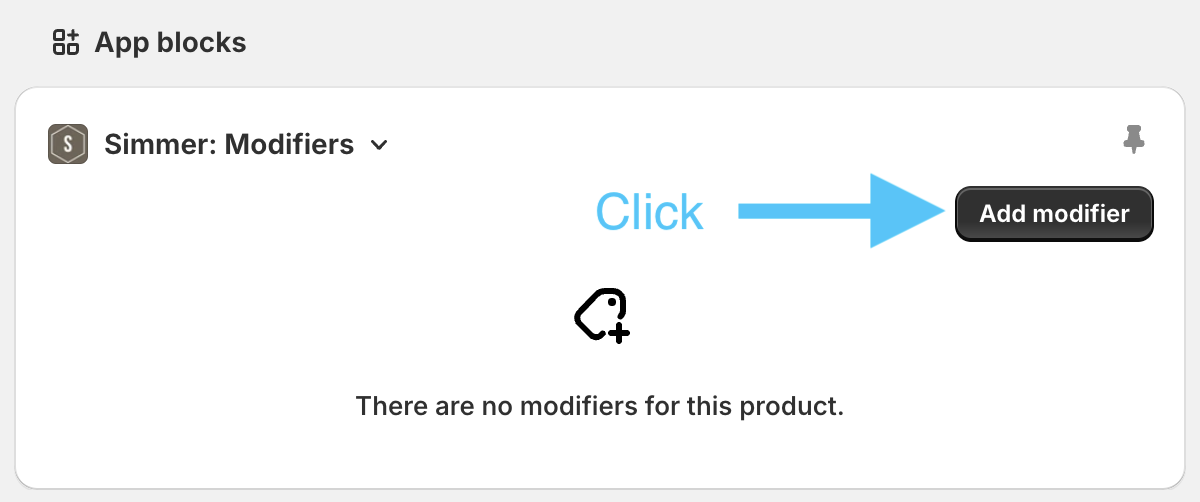
4. Configure POS
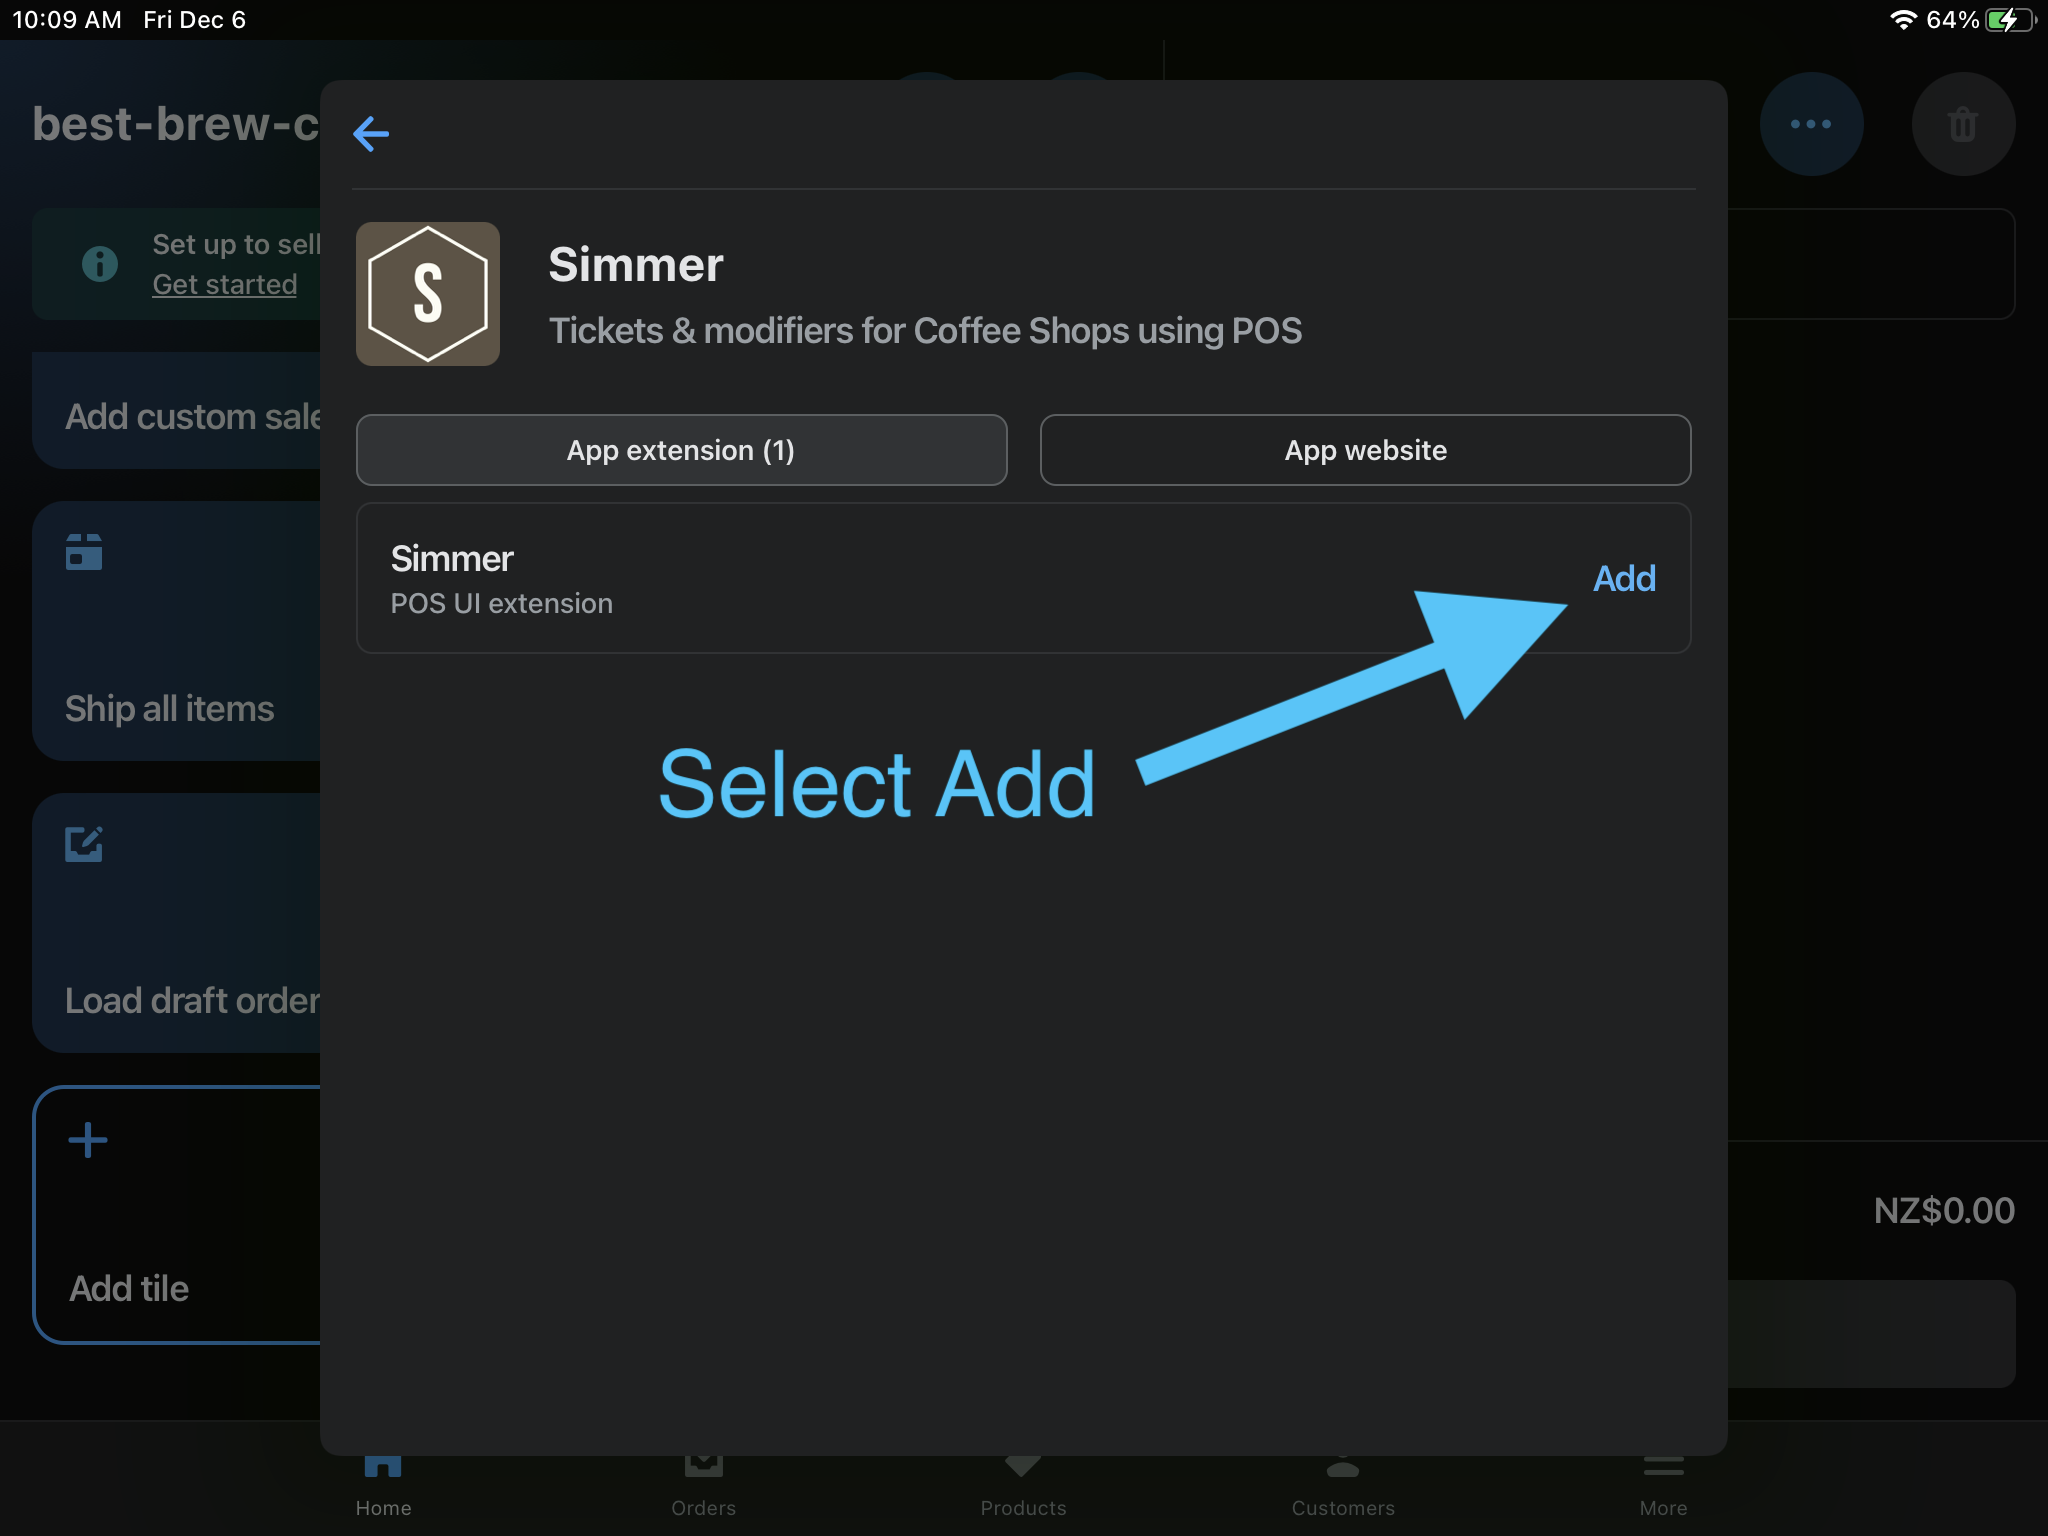
Add the Simmer tile to your Shopify POS home screen.
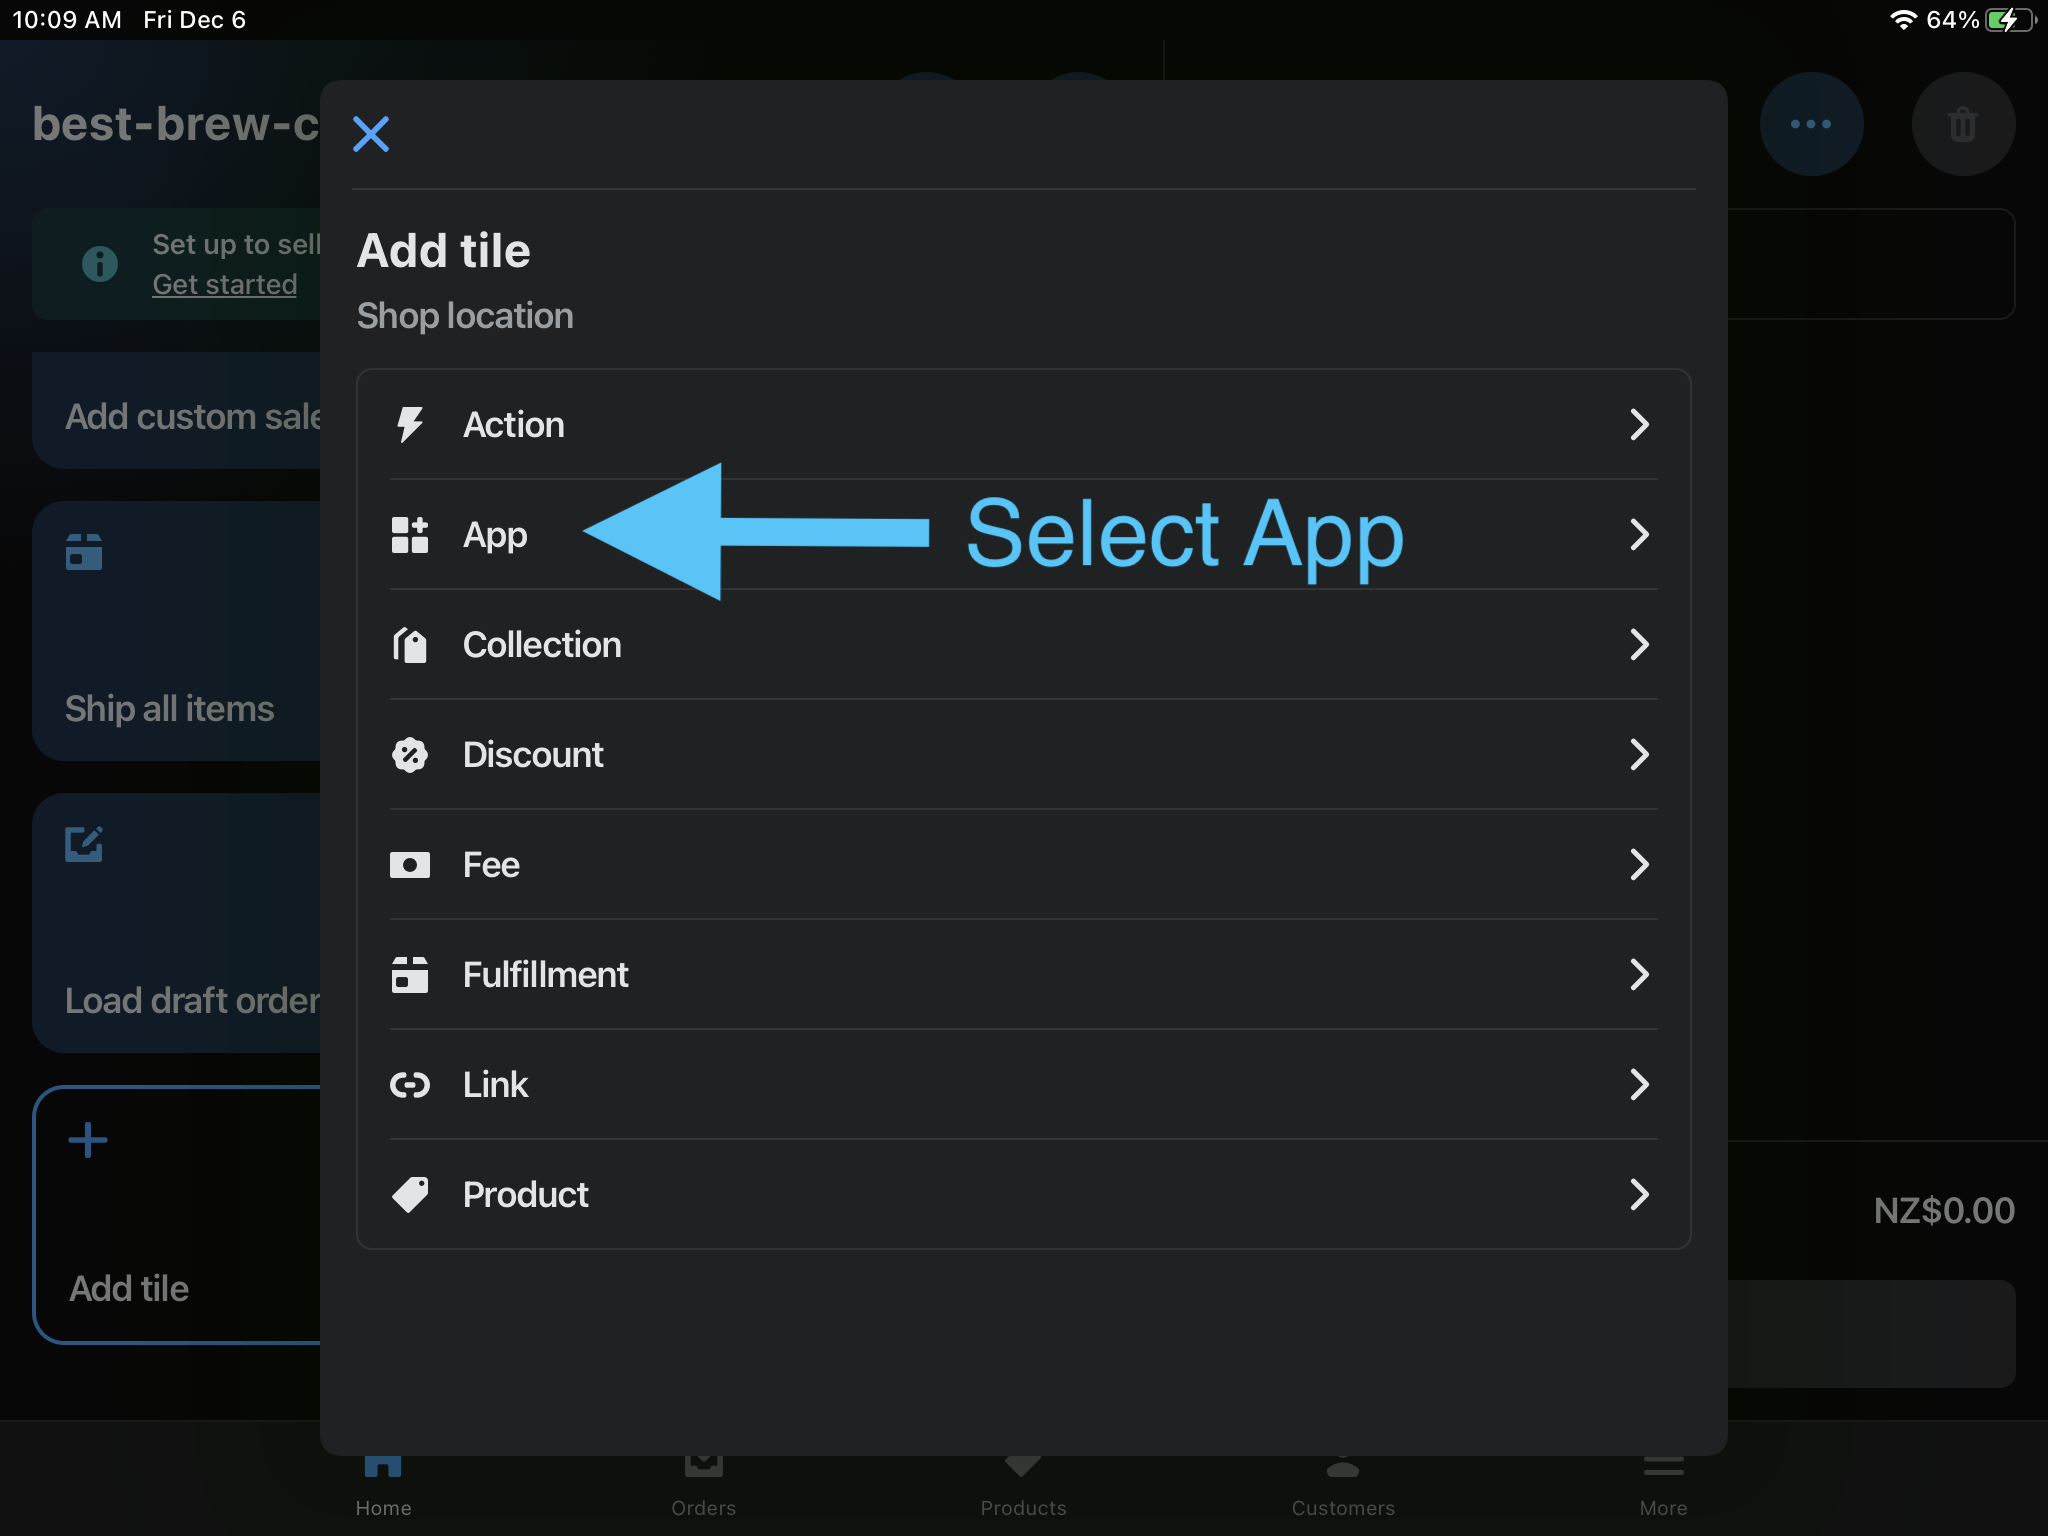
First select the Add tile tile from the POS smart grid:
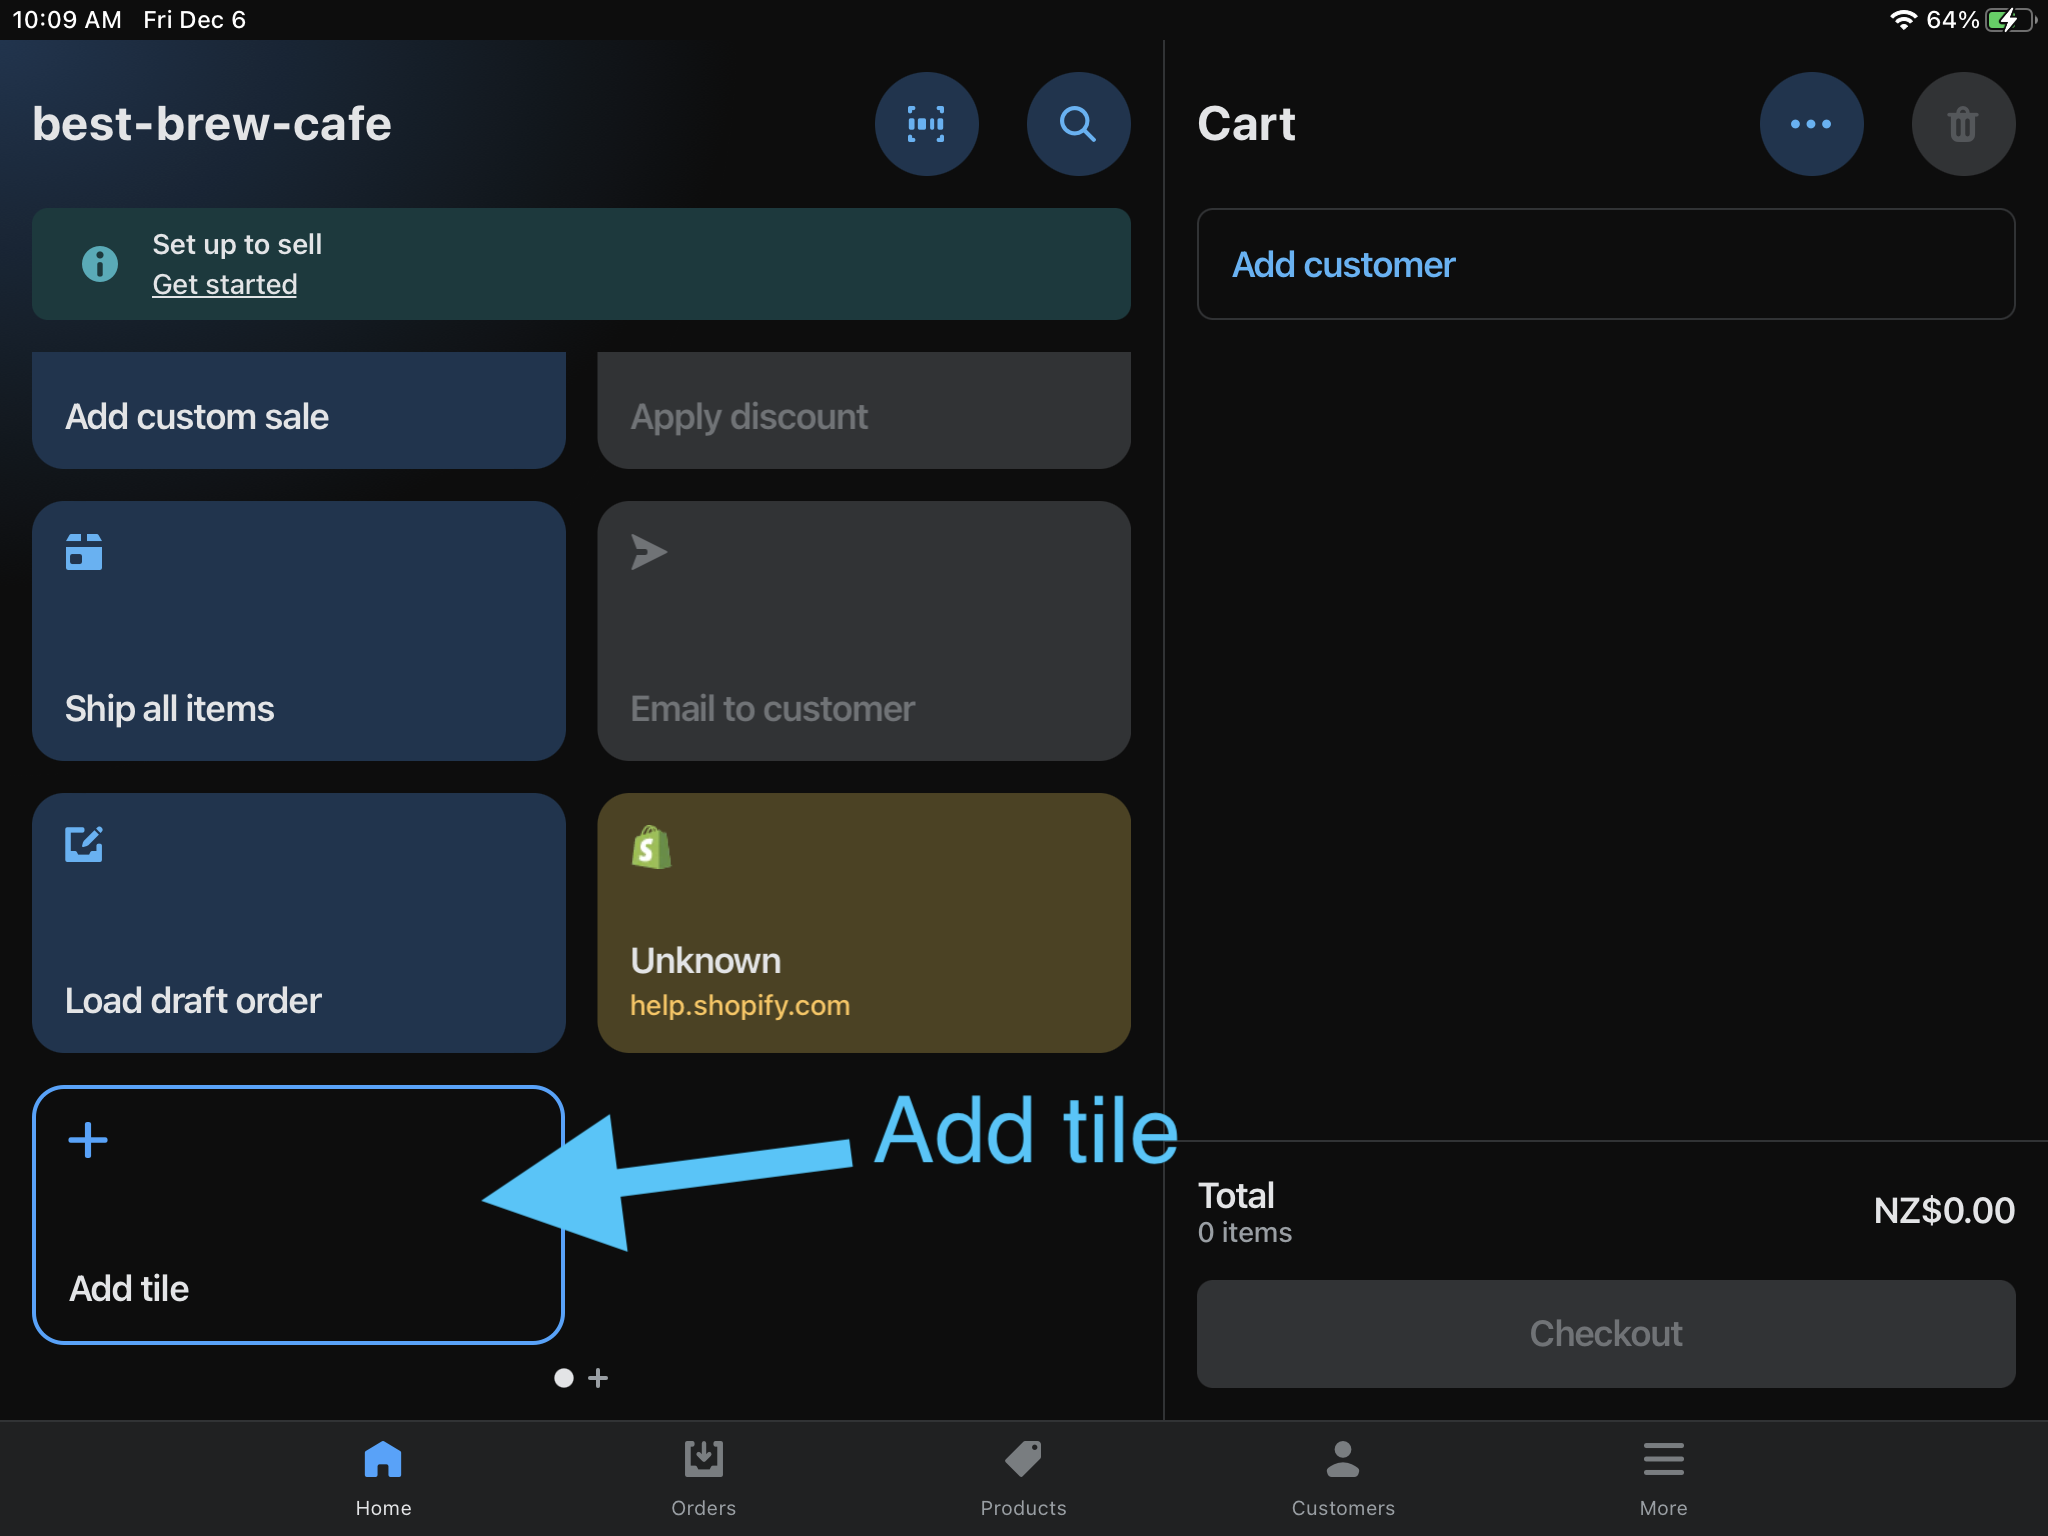
Then select App:
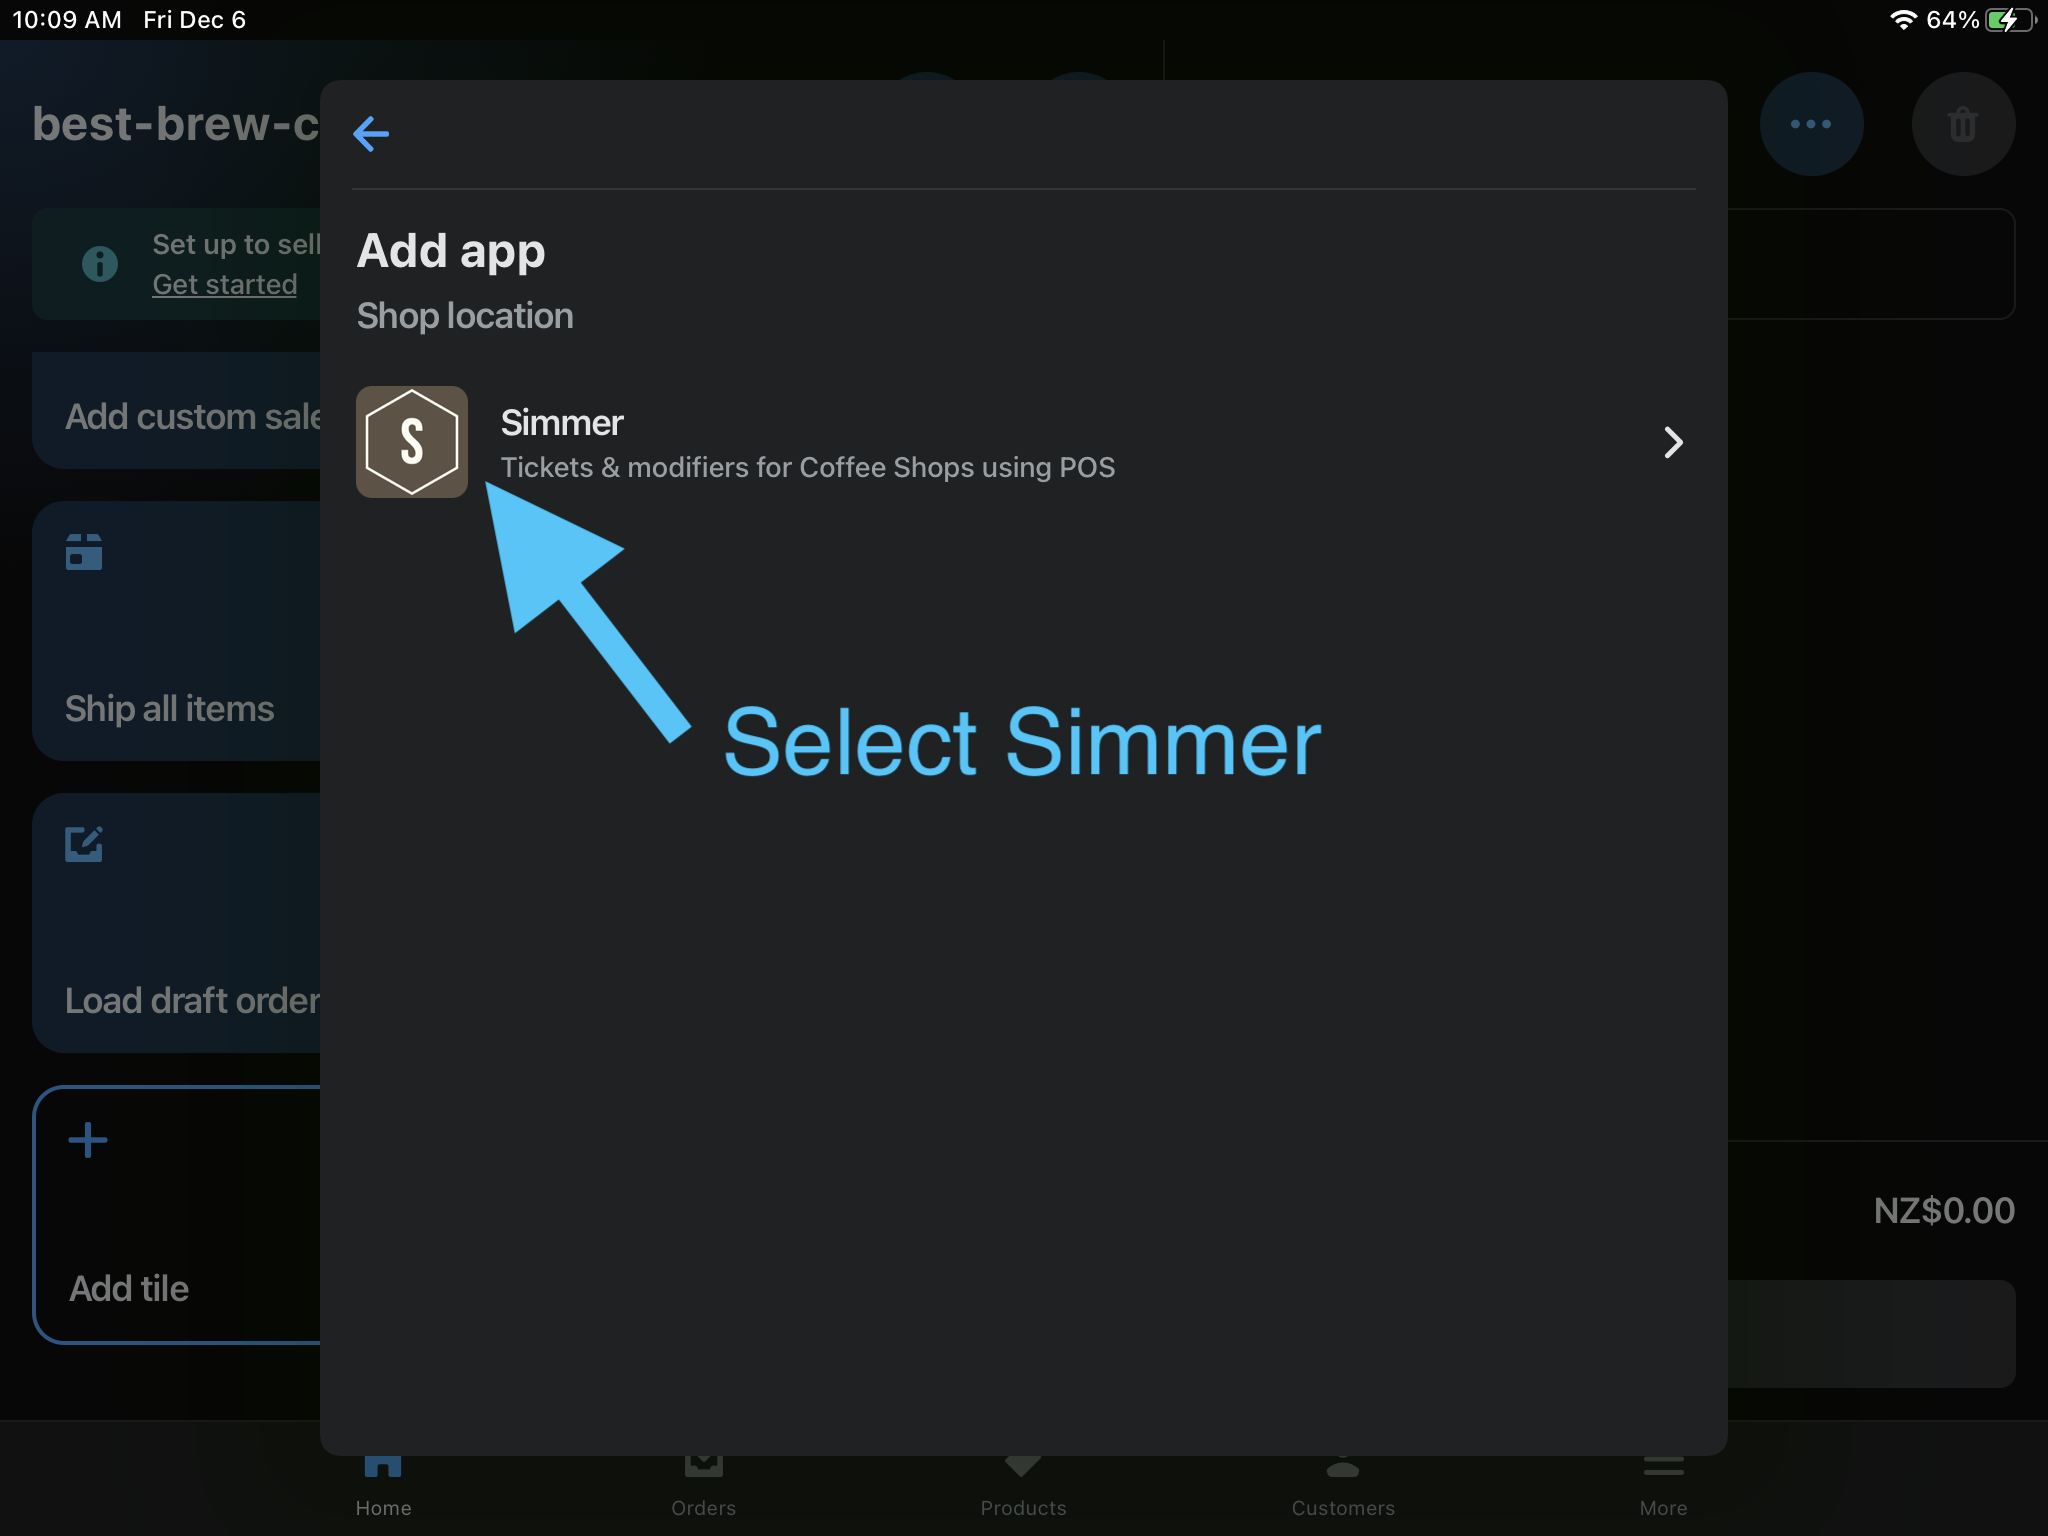
Then select Simmer:
Then select Add:
