Star Micronics printer guide
Simmer currently supports Star Micronics printers with CloudPRNT.
If you are unsure if your printer supports CloudPRNT visit the Star Micronics website or contact help@simmerpos.com.
Create a ticket printer
1. Add printer from the Simmer dashboard:

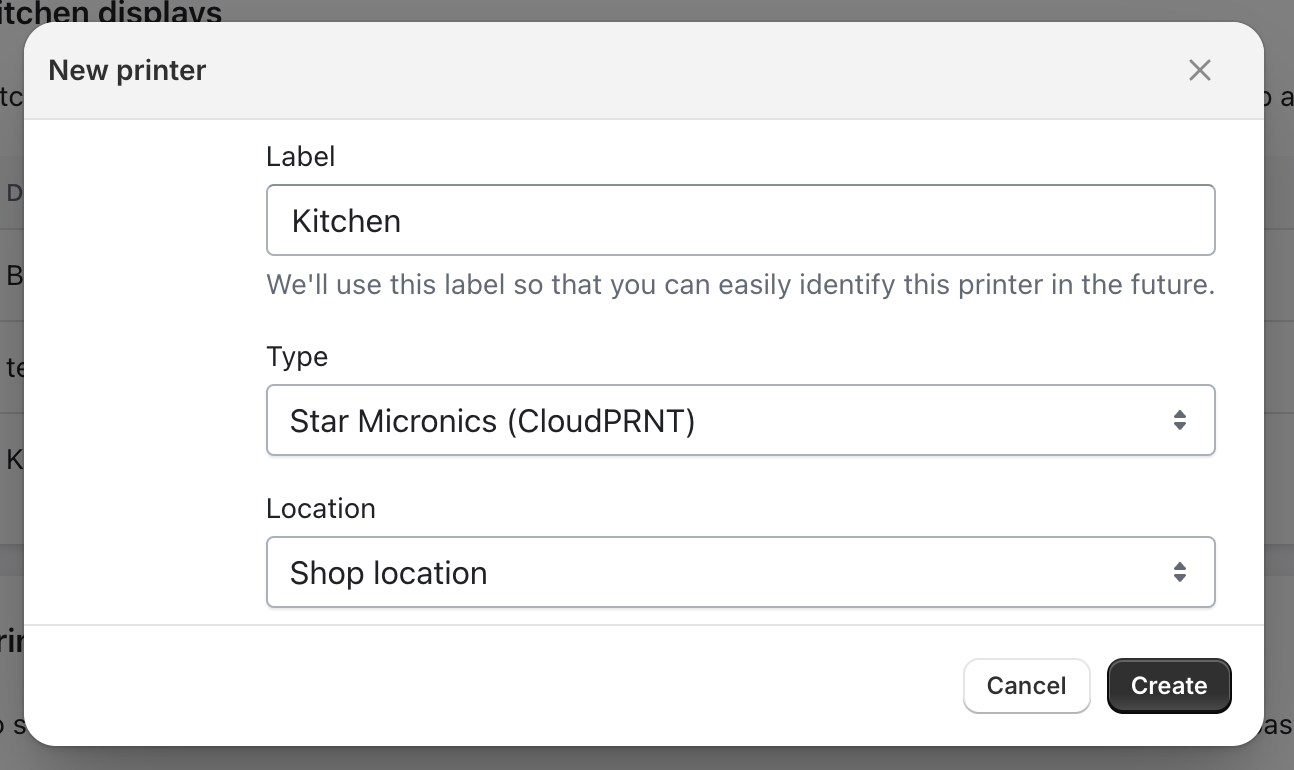
2. Give your printer a name, brand and select the Shopify location you want to use it in:
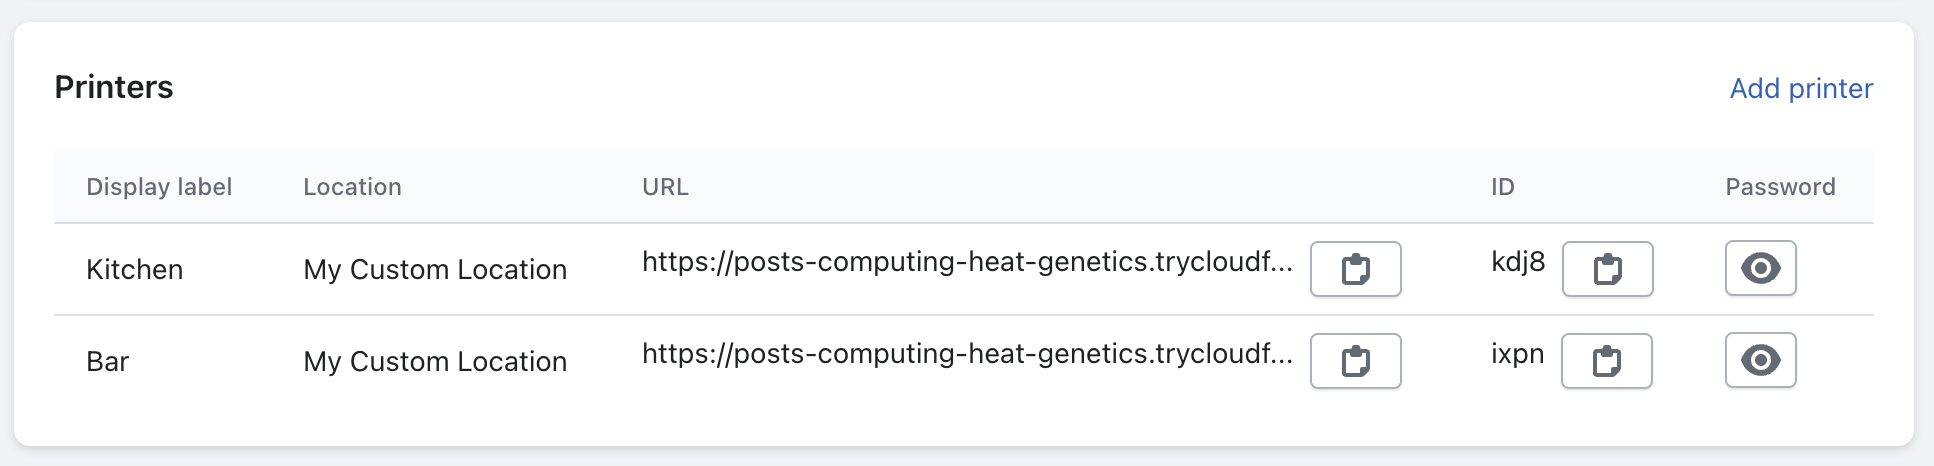
3. Use the printer’s credentials in the following guide on how to configure the printer:
Configure the Star Micronics printer
Note: The instructions are for Star Micronics TSP143IV. The interface may vary slightly for other Star Micronics printers.
1. Navigate to your printer’s LAN address:
How to find your printer’s LAN address:
- Ensure printer is turned off
- Hold down the feed button
- Turn printer on while holding the feed button
- Release feed button once it starts printing
Your printer should print out a receipt with your printer’s LAN address. Enter this into your browser to navigate to the printer’s settings page, e.g http://192.168.1.100. (replace with your printer’s actual IP address).
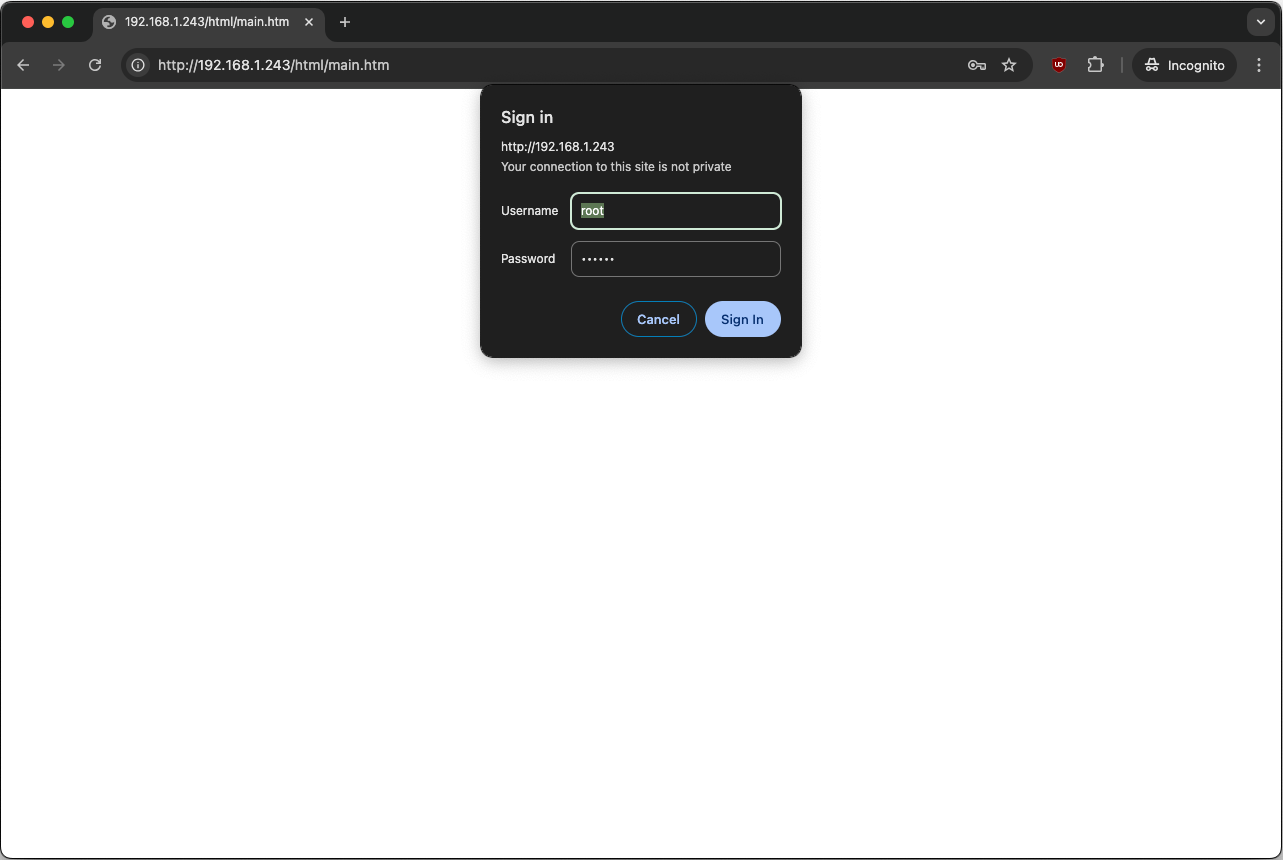
2. Click Login
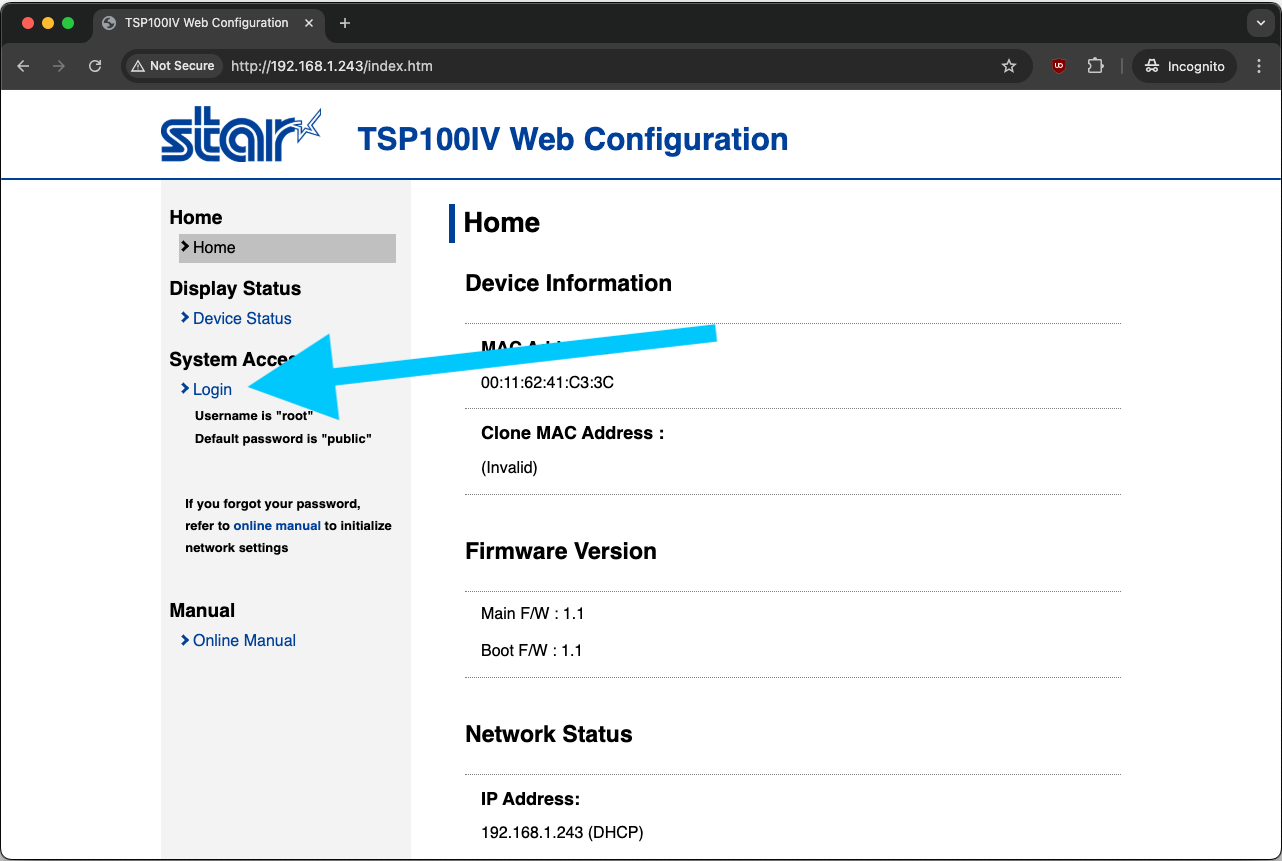
3. Enter your user name and password
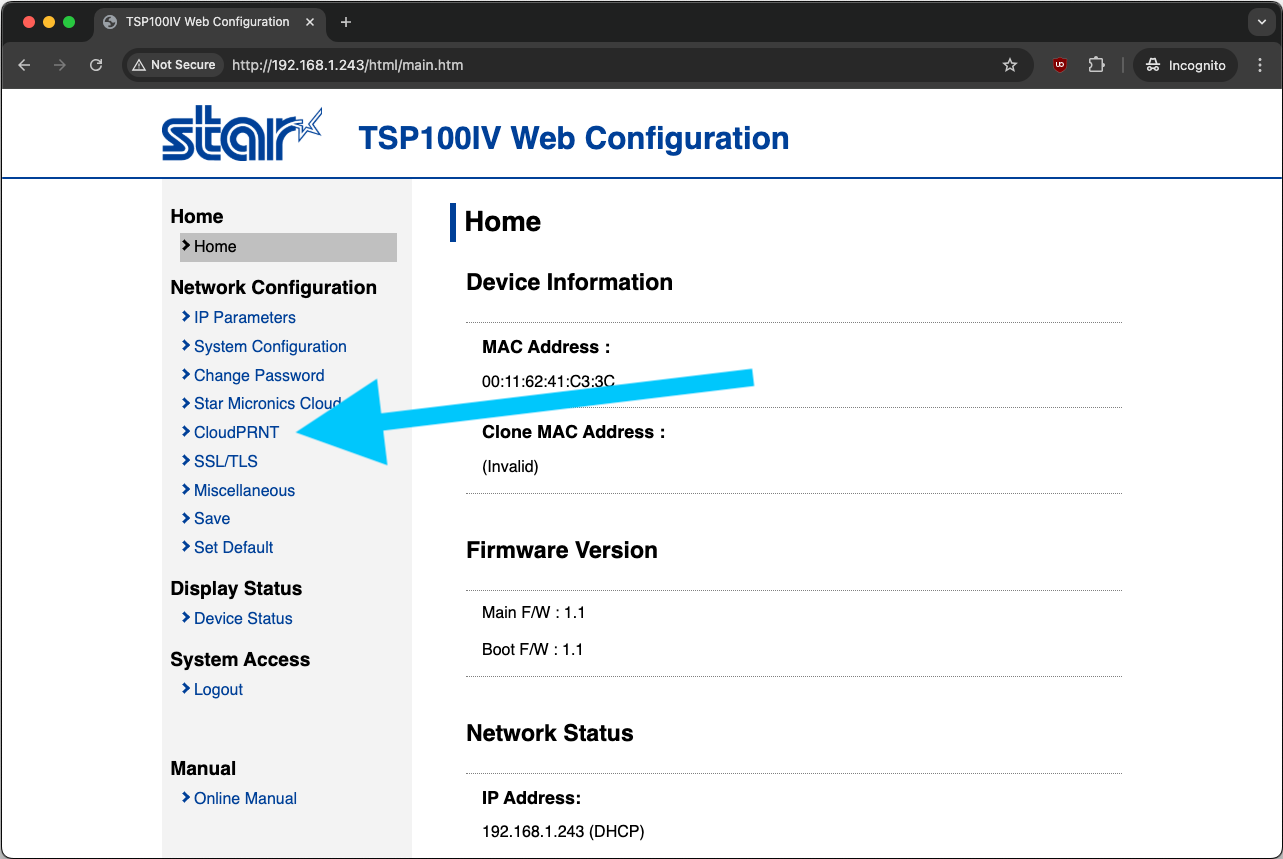
4. Click CloudPRNT
5. Enter the URL, ID, and Password provided by Simmer
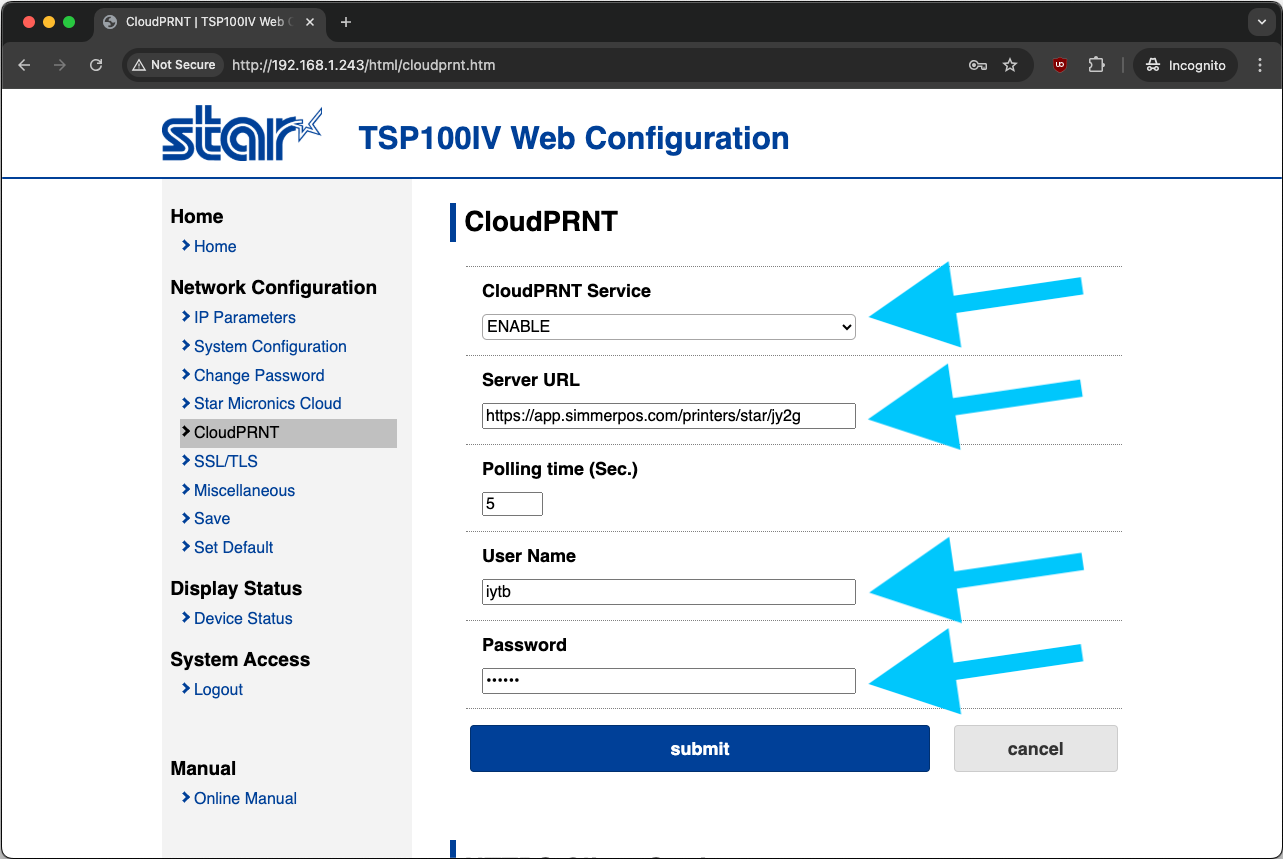
6. Click Submit
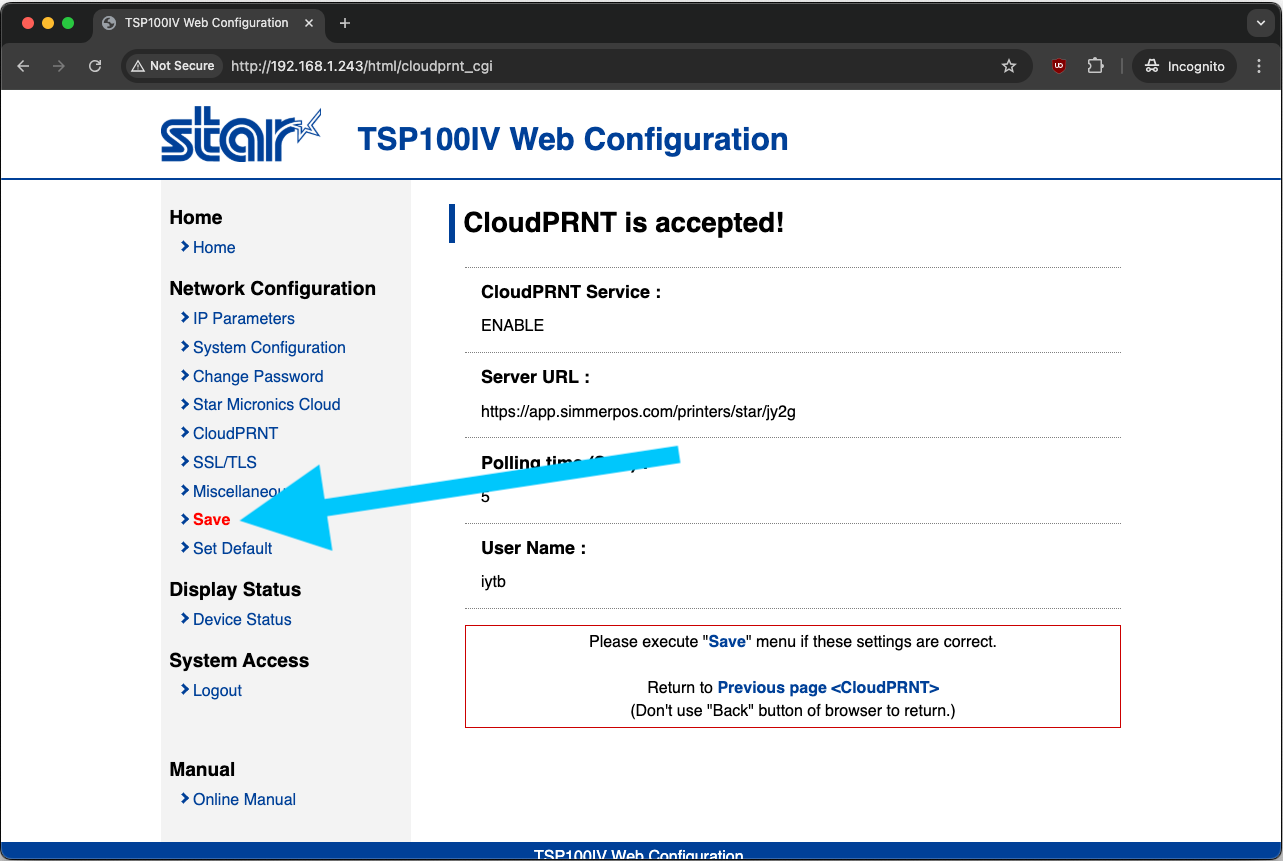
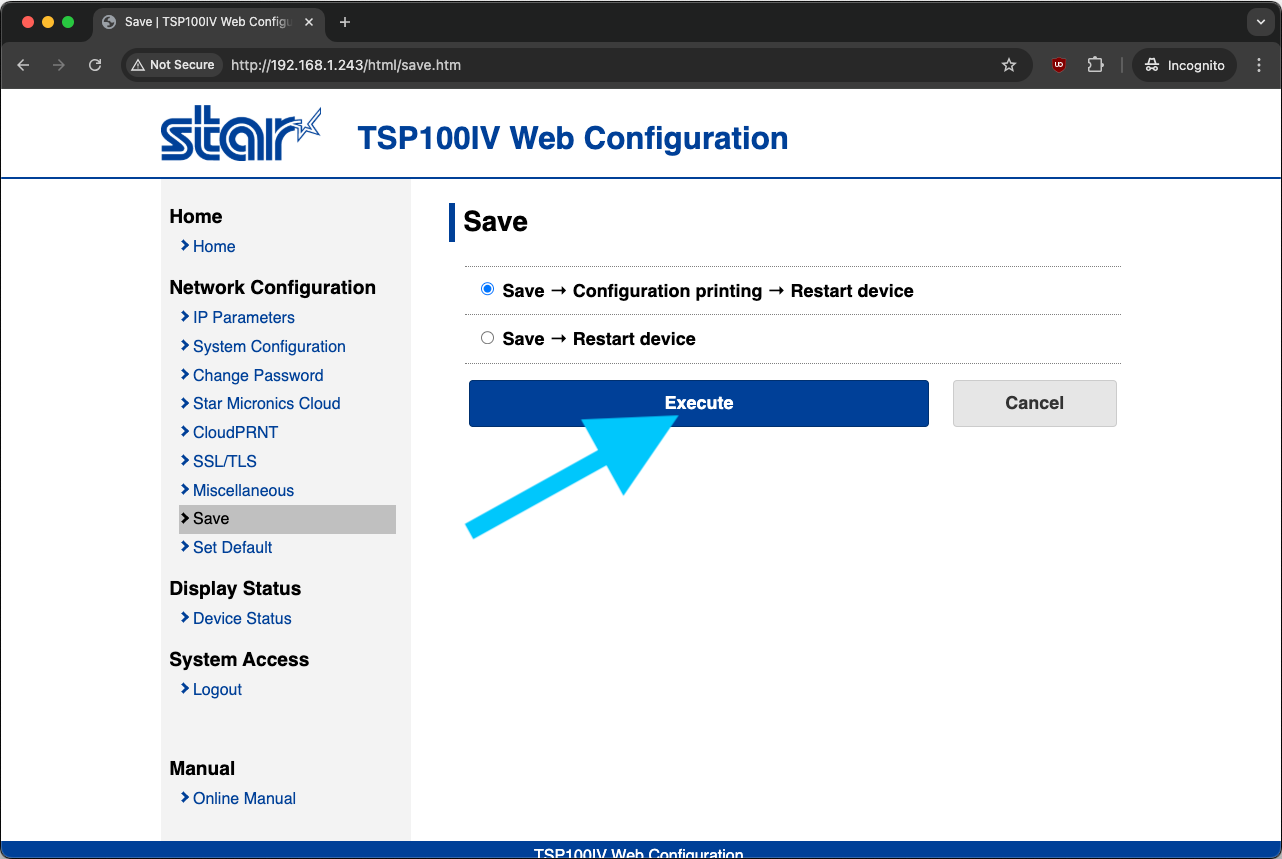
7. Click Execute
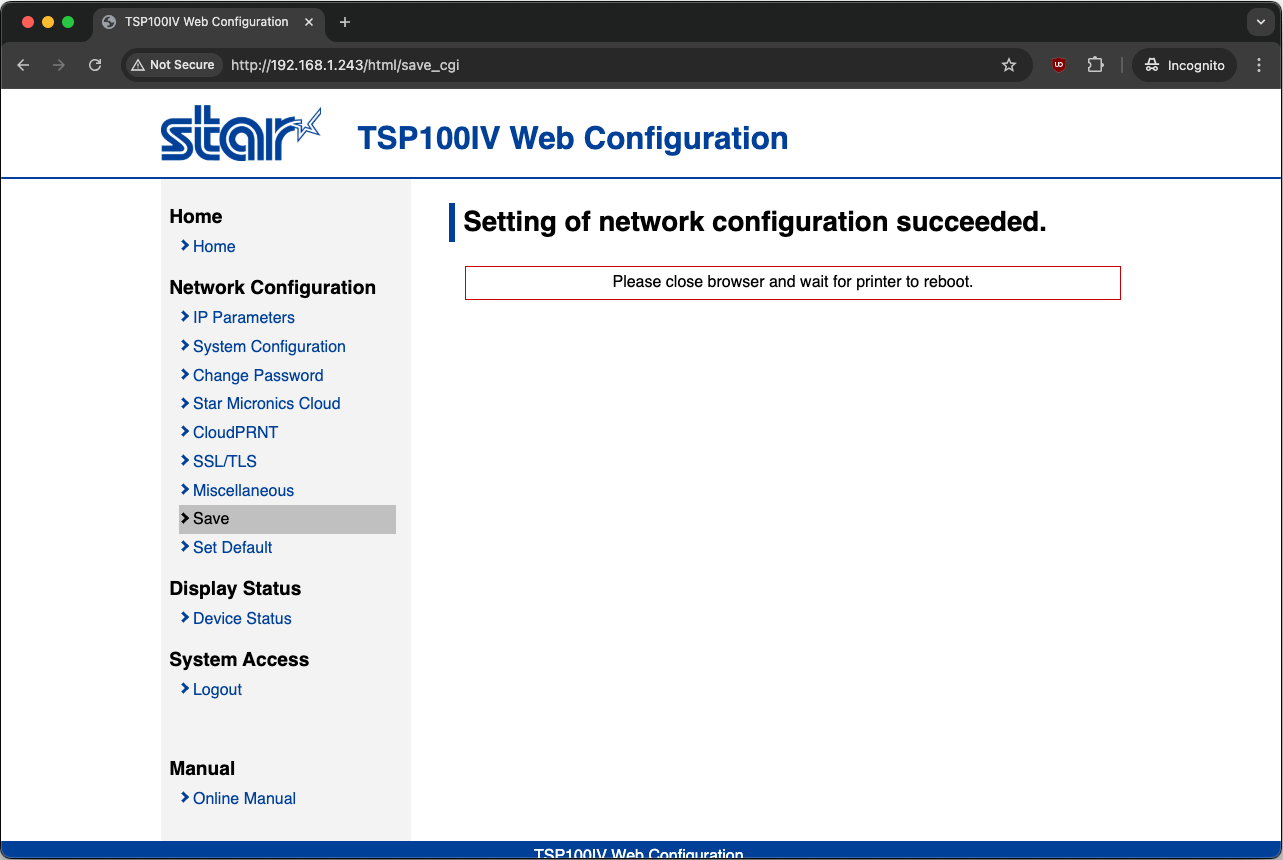
8. Wait for your printer to restart
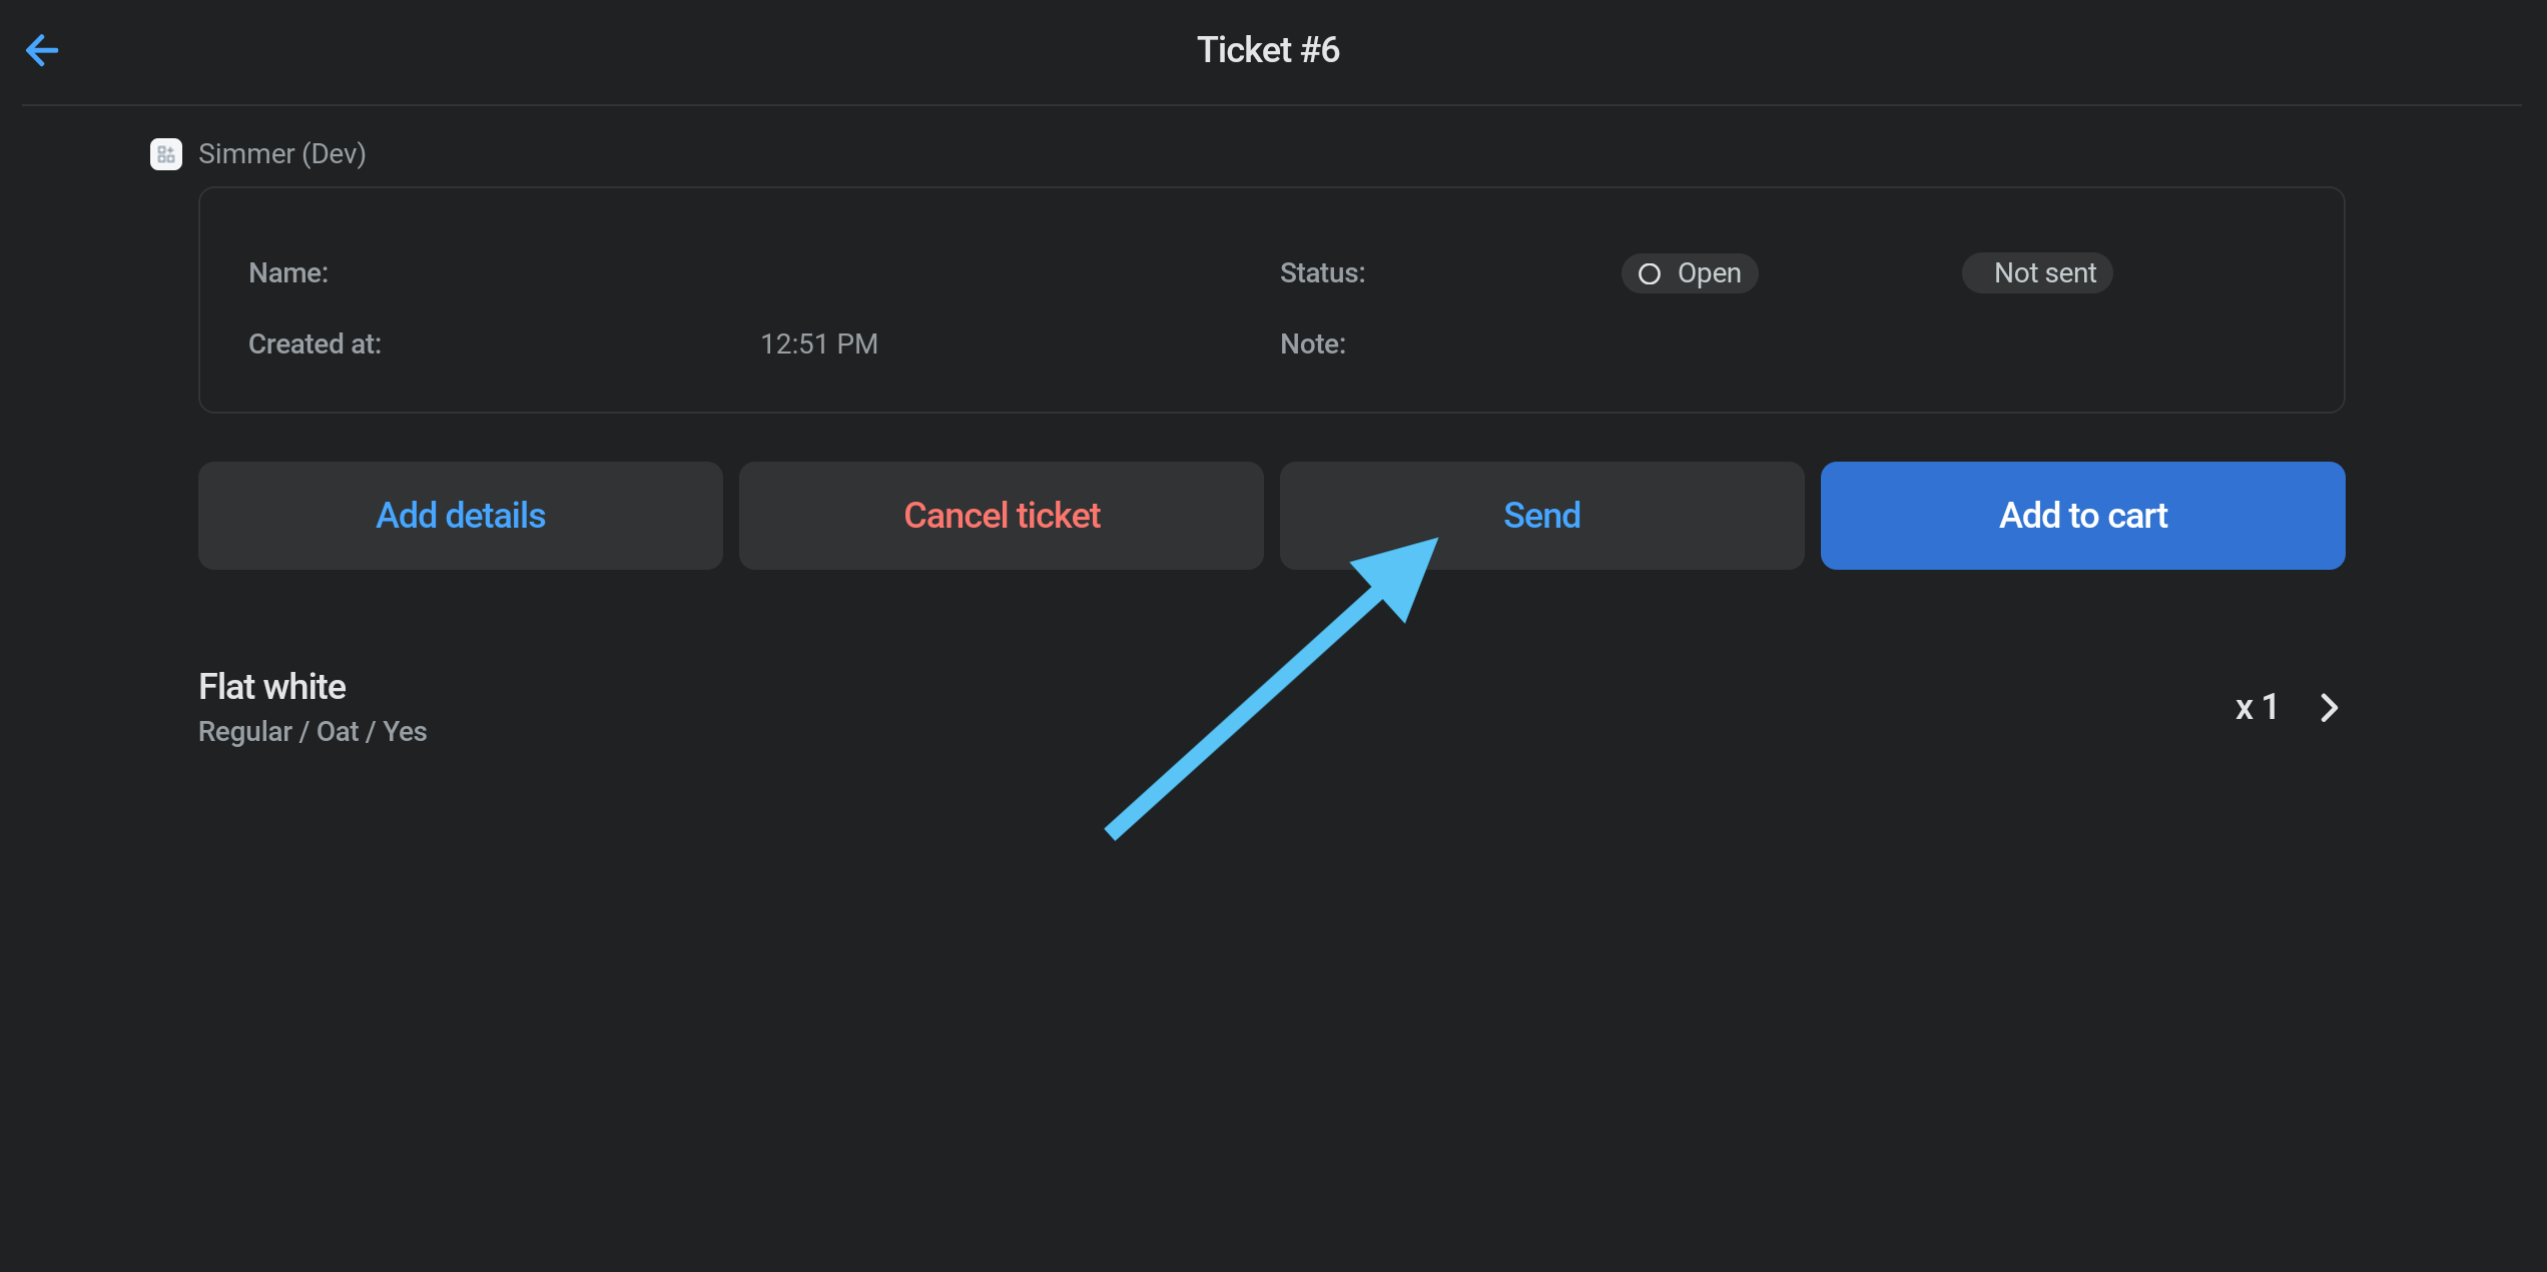
Print tickets
You can now print tickets from the Simmer POS tile by going to the ticket and clicking Send: